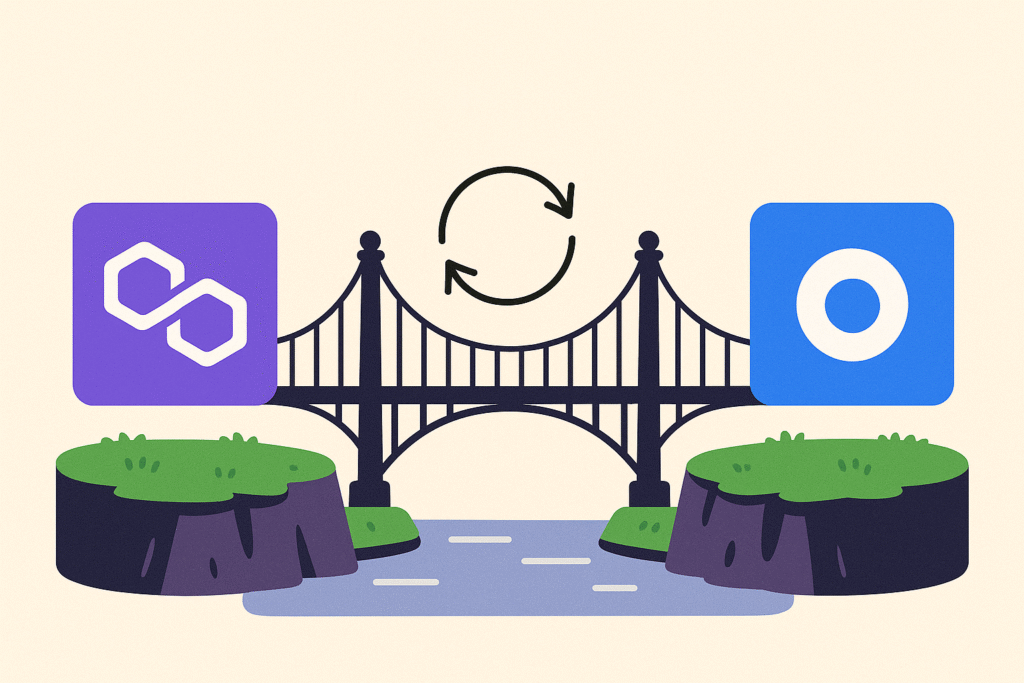
Bridge Polygon to Base to transfer tokens like ETH, USDC, or MATIC between these Ethereum Layer 2 networks, enabling access to a wide range of decentralized applications (dApps) with low-cost, secure transactions. This comprehensive 2025 guide simplifies the process to bridge Polygon to Base, offering clear steps, RPC details, and expert tips to ensure a seamless cross-chain transfer for both beginners and experienced crypto users.
Step-by-Step Guide to Bridge Polygon to Base
To bridge Polygon to Base, use a trusted platform like Synapse Protocol, which facilitates secure cross-chain transfers. Alternatives such as AnySwap or Multichain are also reliable for bridging from Polygon to Base.
Step 1: Set Up Your Wallet
- Choose a Wallet: Select MetaMask, Coinbase Wallet, or Trust Wallet, all compatible with Polygon and Base for efficient crypto bridging.
- Add Network RPCs:
- Polygon:
- Network Name: Polygon Mainnet
- RPC URL: https://polygon-rpc.com
- Chain ID: 137
- Currency Symbol: MATIC
- Block Explorer: https://polygonscan.com
- Source
- Base:
- Network Name: Base Mainnet
- RPC URL: https://mainnet.base.org
- Chain ID: 8453
- Currency Symbol: ETH
- Block Explorer: https://basescan.org
- Source
- Polygon:
- Fund Your Wallet: Ensure you have assets (e.g., ETH, USDC, MATIC) on Polygon and enough MATIC to cover gas fees, which are typically low when you bridge Polygon to Base.
Step 2: Connect to a Bridge
- Visit a Bridge: Navigate to Synapse Protocol to securely bridge Polygon to Base.
- Connect Wallet: Click “Connect Wallet,” select MetaMask, and confirm it’s set to Polygon Mainnet to start the bridging process.
Step 3: Execute the Bridge
- Select Chains: Choose Polygon as the source and Base as the destination to bridge Polygon to Base.
- Pick a Token: Select a supported token, such as USDC, ETH, or MATIC, ensuring the bridge supports it.
- Enter Amount: Specify the amount you wish to transfer and review the estimated gas fees and bridging costs.
- Approve & Confirm: Approve the token in your wallet, then confirm the transaction to bridge Polygon to Base, paying the MATIC gas fee.
Step 4: Verify Assets on Base
- Switch to Base: Change your wallet’s network to Base Mainnet to view your bridged assets.
- Check Balance: Confirm the assets appear in your wallet. If not, add the token’s contract address from Basescan.
- Track Progress: Monitor the transaction on Polygonscan or the bridge’s interface. Bridging from Polygon to Base typically takes 5–15 minutes, depending on network conditions.
Why Bridge from Polygon to Base?
Bridging from Polygon to Base connects two powerful Ethereum Layer 2 ecosystems, each offering unique advantages:
- Polygon: A leading Layer 2 solution, Polygon provides fast, low-cost transactions, making it ideal for DeFi platforms like Aave and NFT marketplaces like OpenSea. Learn more.
- Base: Developed by Coinbase, Base delivers a secure, developer-friendly environment with affordable transactions, perfect for dApps and Coinbase ecosystem integration. Explore Base.
- Key Benefits:
- Access New dApps: Bridge Polygon to Base to explore Base’s growing ecosystem of DeFi protocols, NFT projects, and Web3 applications.
- Cost Efficiency: Both networks reduce Ethereum mainnet’s high gas fees, making it cost-effective to bridge Polygon to Base.
- Flexibility: Move assets to optimize your DeFi or NFT strategies across Layer 2 networks.
- Interoperability: Seamlessly interact between Polygon and Base, enhancing your blockchain experience in 2025.
Tips for a Secure Cross-Chain Transfer
- Test with Small Amounts: Start with a small transfer to ensure the process to bridge Polygon to Base works smoothly.
- Optimize Gas Fees: Use Polygon Gas Station to monitor gas prices and time your bridging for cost efficiency.
- Choose Audited Bridges: Opt for platforms like Synapse or Multichain, which have robust security audits. Check audit reports on their official websites.
- Verify Addresses: Double-check token and wallet addresses to prevent loss when you bridge Polygon to Base.
- Stay Informed: Follow Polygon and Base communities on X or Discord for real-time updates on network status or bridge maintenance.
Troubleshooting Common Bridging Issues
Bridging can encounter issues, but these solutions can help:
- High Gas Fees: If fees are high, wait for lower network activity or check trends on Polygon Gas Station. Layer 2 fees are generally lower than mainnet, but timing is key when you bridge Polygon to Base.
- Transaction Delays: Congestion can slow bridging. Track your transaction on Basescan or contact the bridge’s support via their website or community channels.
- Missing Tokens: If assets don’t appear, ensure your wallet is on Base Mainnet. Add the token’s contract address from Basescan’s token directory.
- Failed Transactions: Check for errors like insufficient gas or unsupported tokens. Retry with adjusted settings or consult the bridge’s FAQ for guidance.
The Future of Layer 2 Bridging
As blockchain technology advances, manual bridging may become less necessary with innovations like Chain Abstraction. This approach unifies cross-chain interactions, allowing users to bridge Polygon to Base or other networks without complex steps. Platforms like Arcana Network are pioneering this shift, promising a future where DeFi users can seamlessly interact across Layer 2 ecosystems. In 2025, expect more bridges to integrate Chain Abstraction protocols, simplifying the process to bridge Polygon to Base and enhancing user experience.
Conclusion
To bridge Polygon to Base is a straightforward way to leverage the strengths of both Layer 2 ecosystems. This 2025 crypto bridging guide equips you with the steps to securely transfer assets like ETH or USDC using trusted tools like Synapse Protocol. Set up your wallet with the provided RPCs, follow the steps, and stay cautious for a seamless Layer 2 interoperability experience. For more crypto bridging tutorials, explore Base Docs or join discussions on X.
Disclaimer: Cryptocurrency transactions carry risks. Always conduct your own research and consult financial advisors before bridging assets.


